
Design the cut lines for a laser cut jigsaw puzzle.
Puzzle Jigger draws a jigsaw cut file at the exact size of your board, checks that no piece is too thin to survive the laser, and saves an SVG for your laser software. It runs in your browser, so nothing you add gets uploaded.
Works in any browser · add it to your Home Screen to use it offline
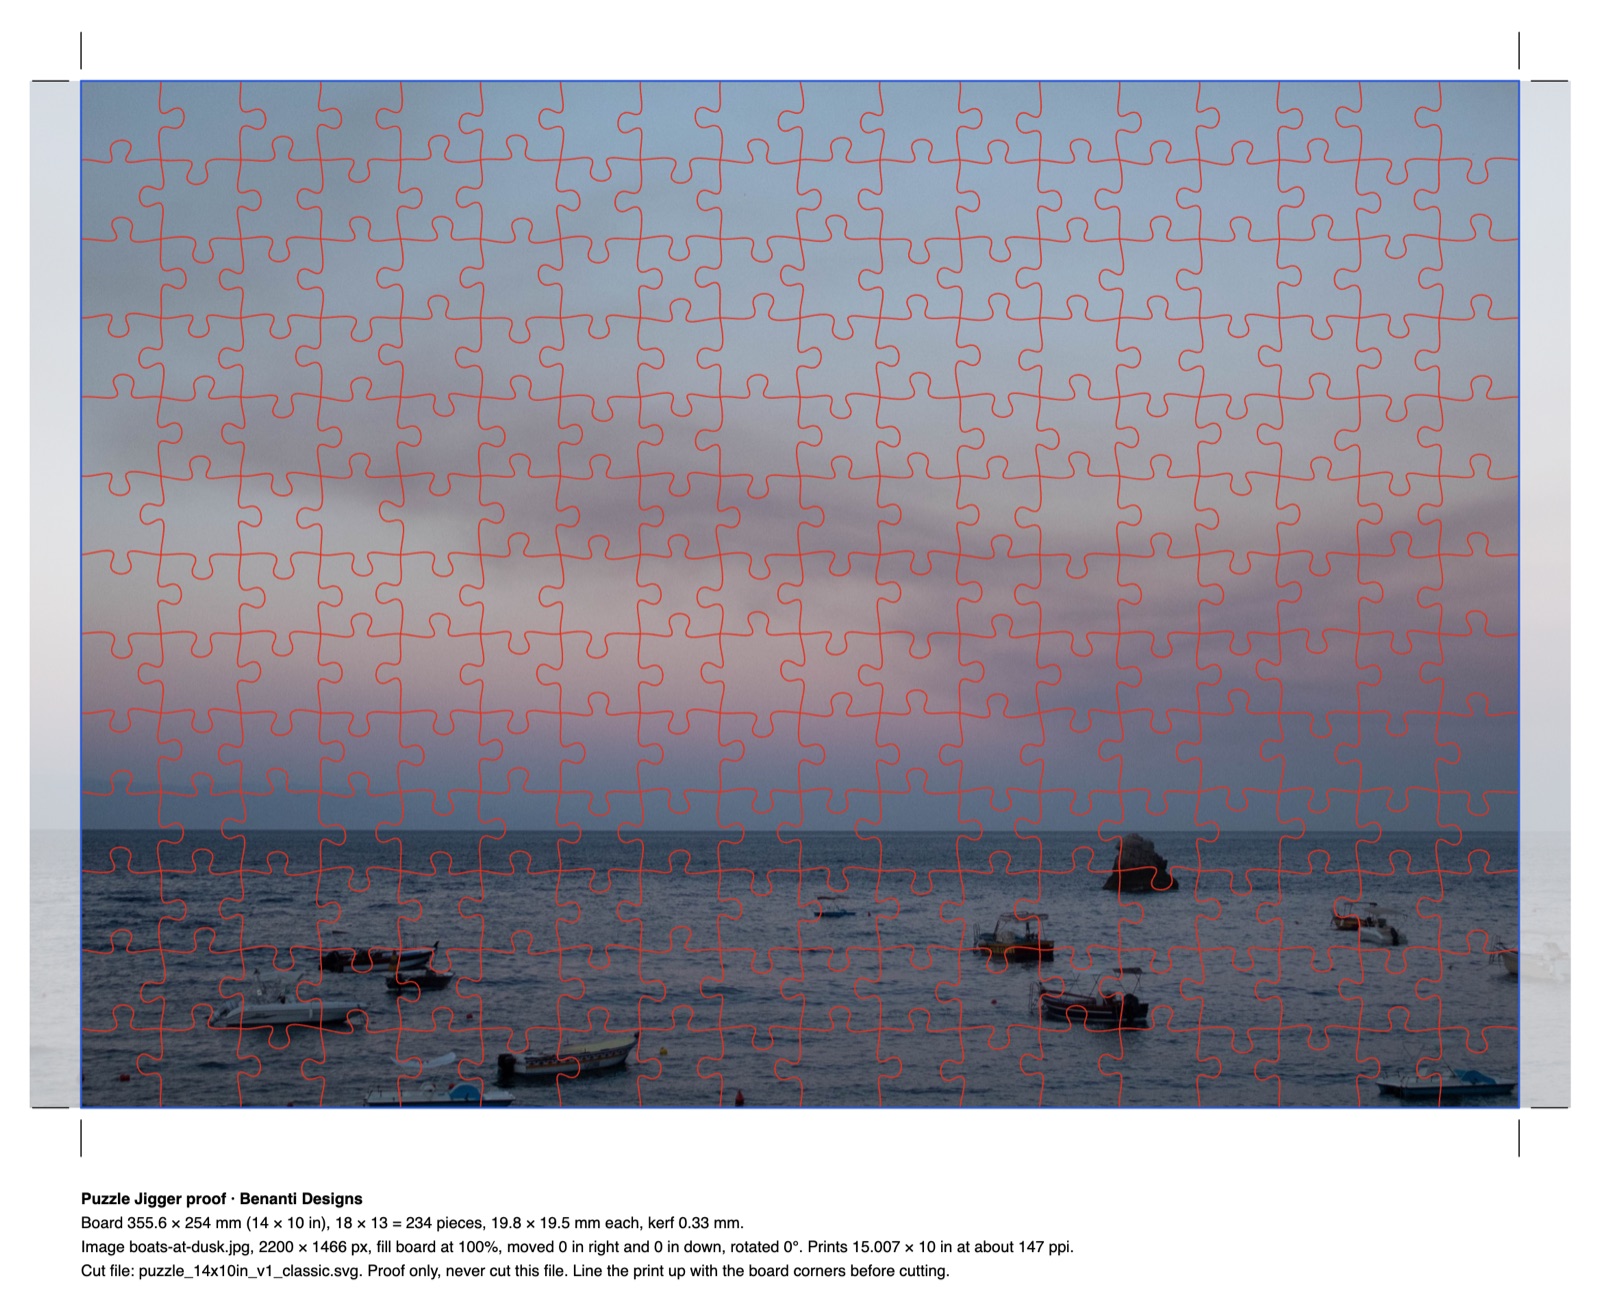
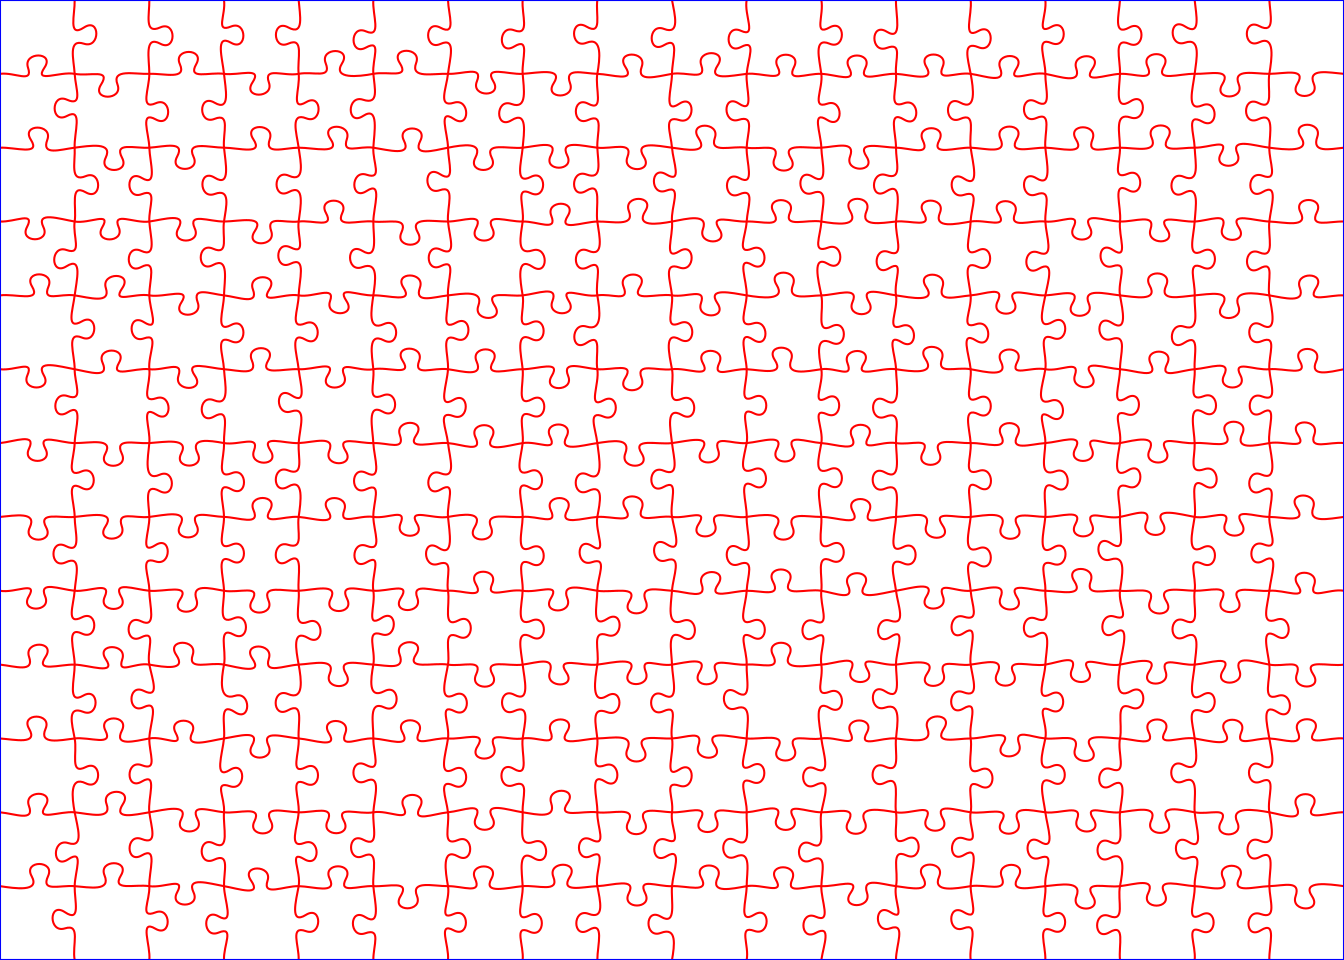
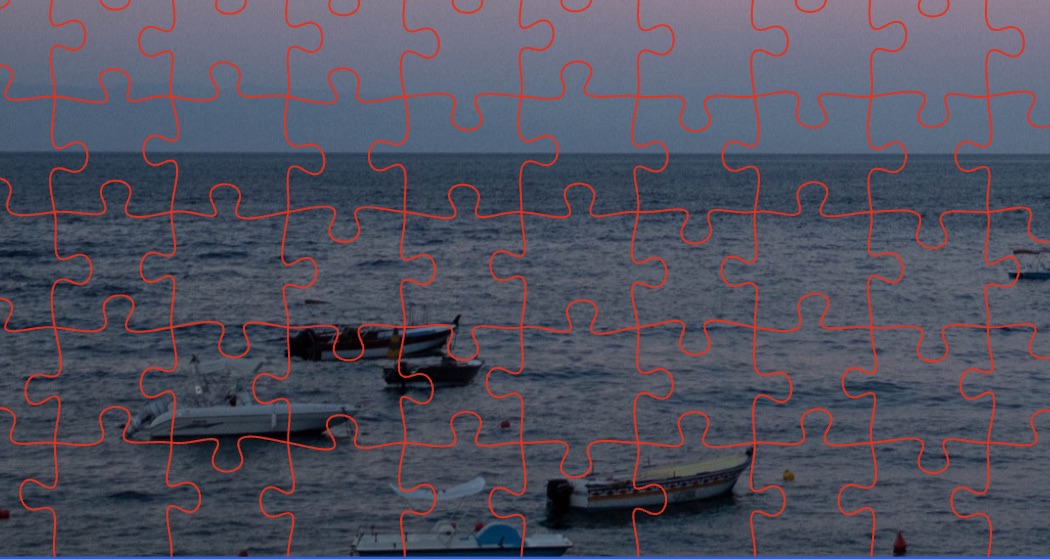
Both are real exports from Puzzle Jigger at its starting settings, with the studio's photograph Boats at Dusk as the artwork. The cut file is drawn with heavier lines here so it reads on screen; the file itself uses hairlines for the laser. A proof is for lining up the print and is never sent to the laser.
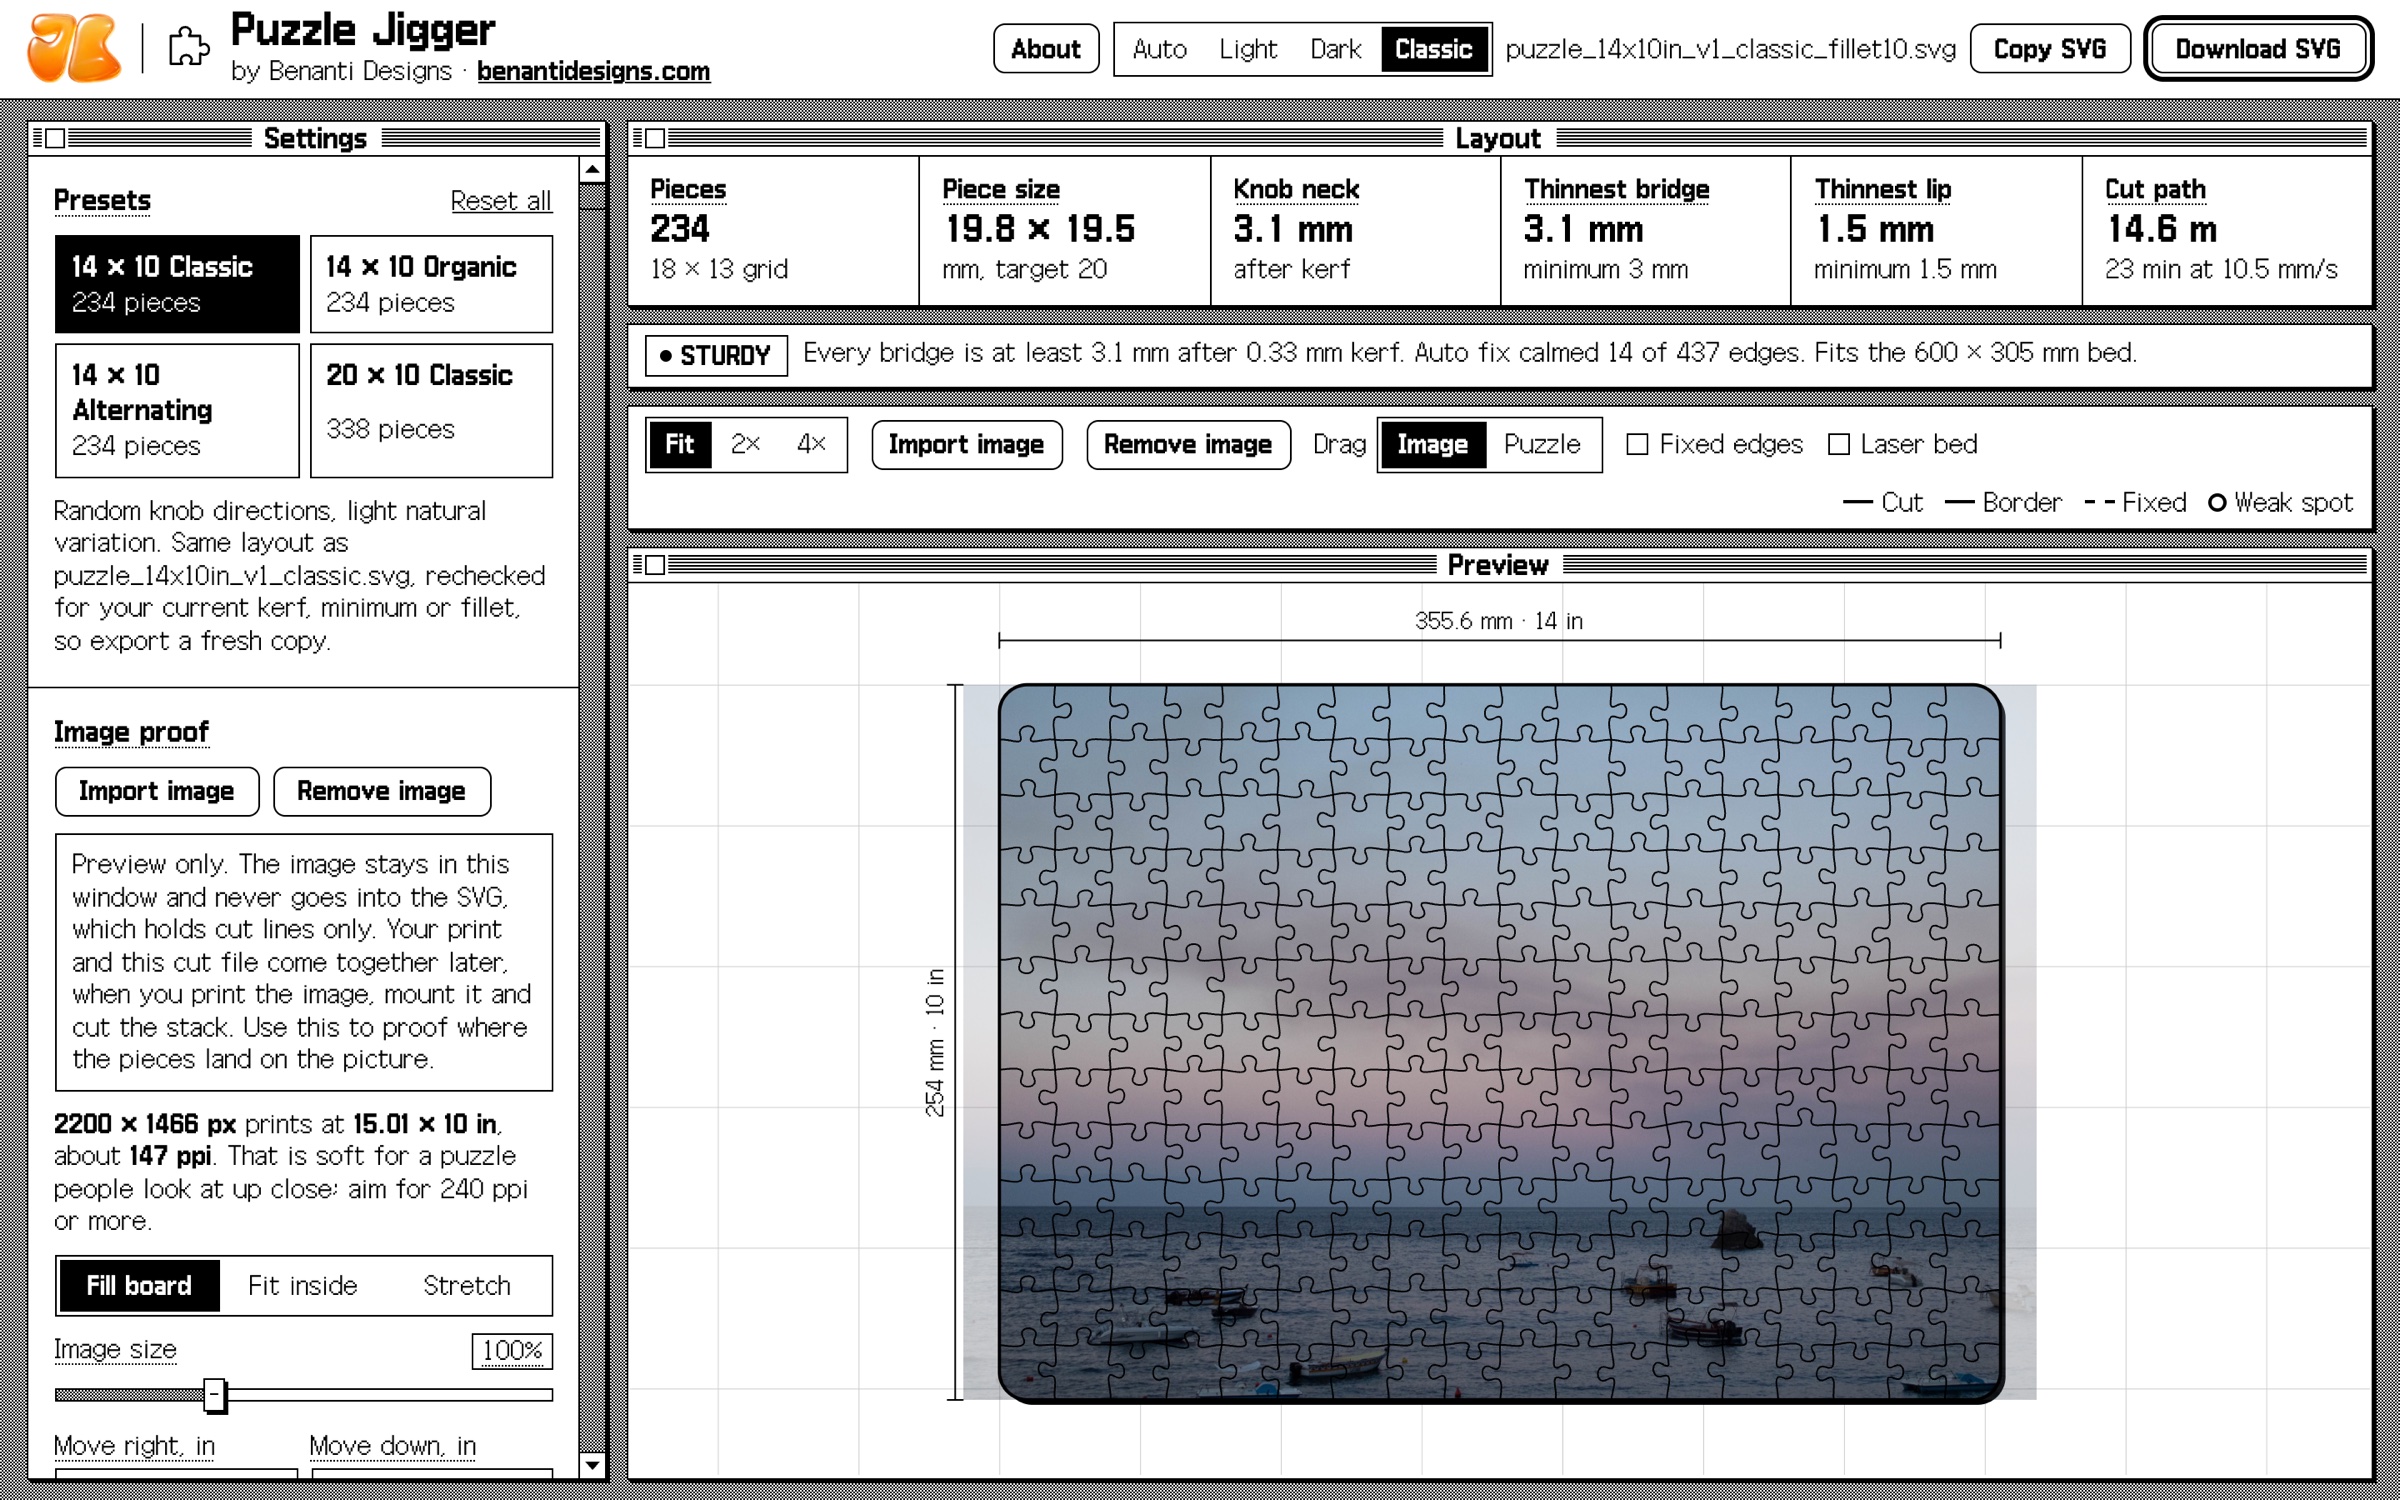
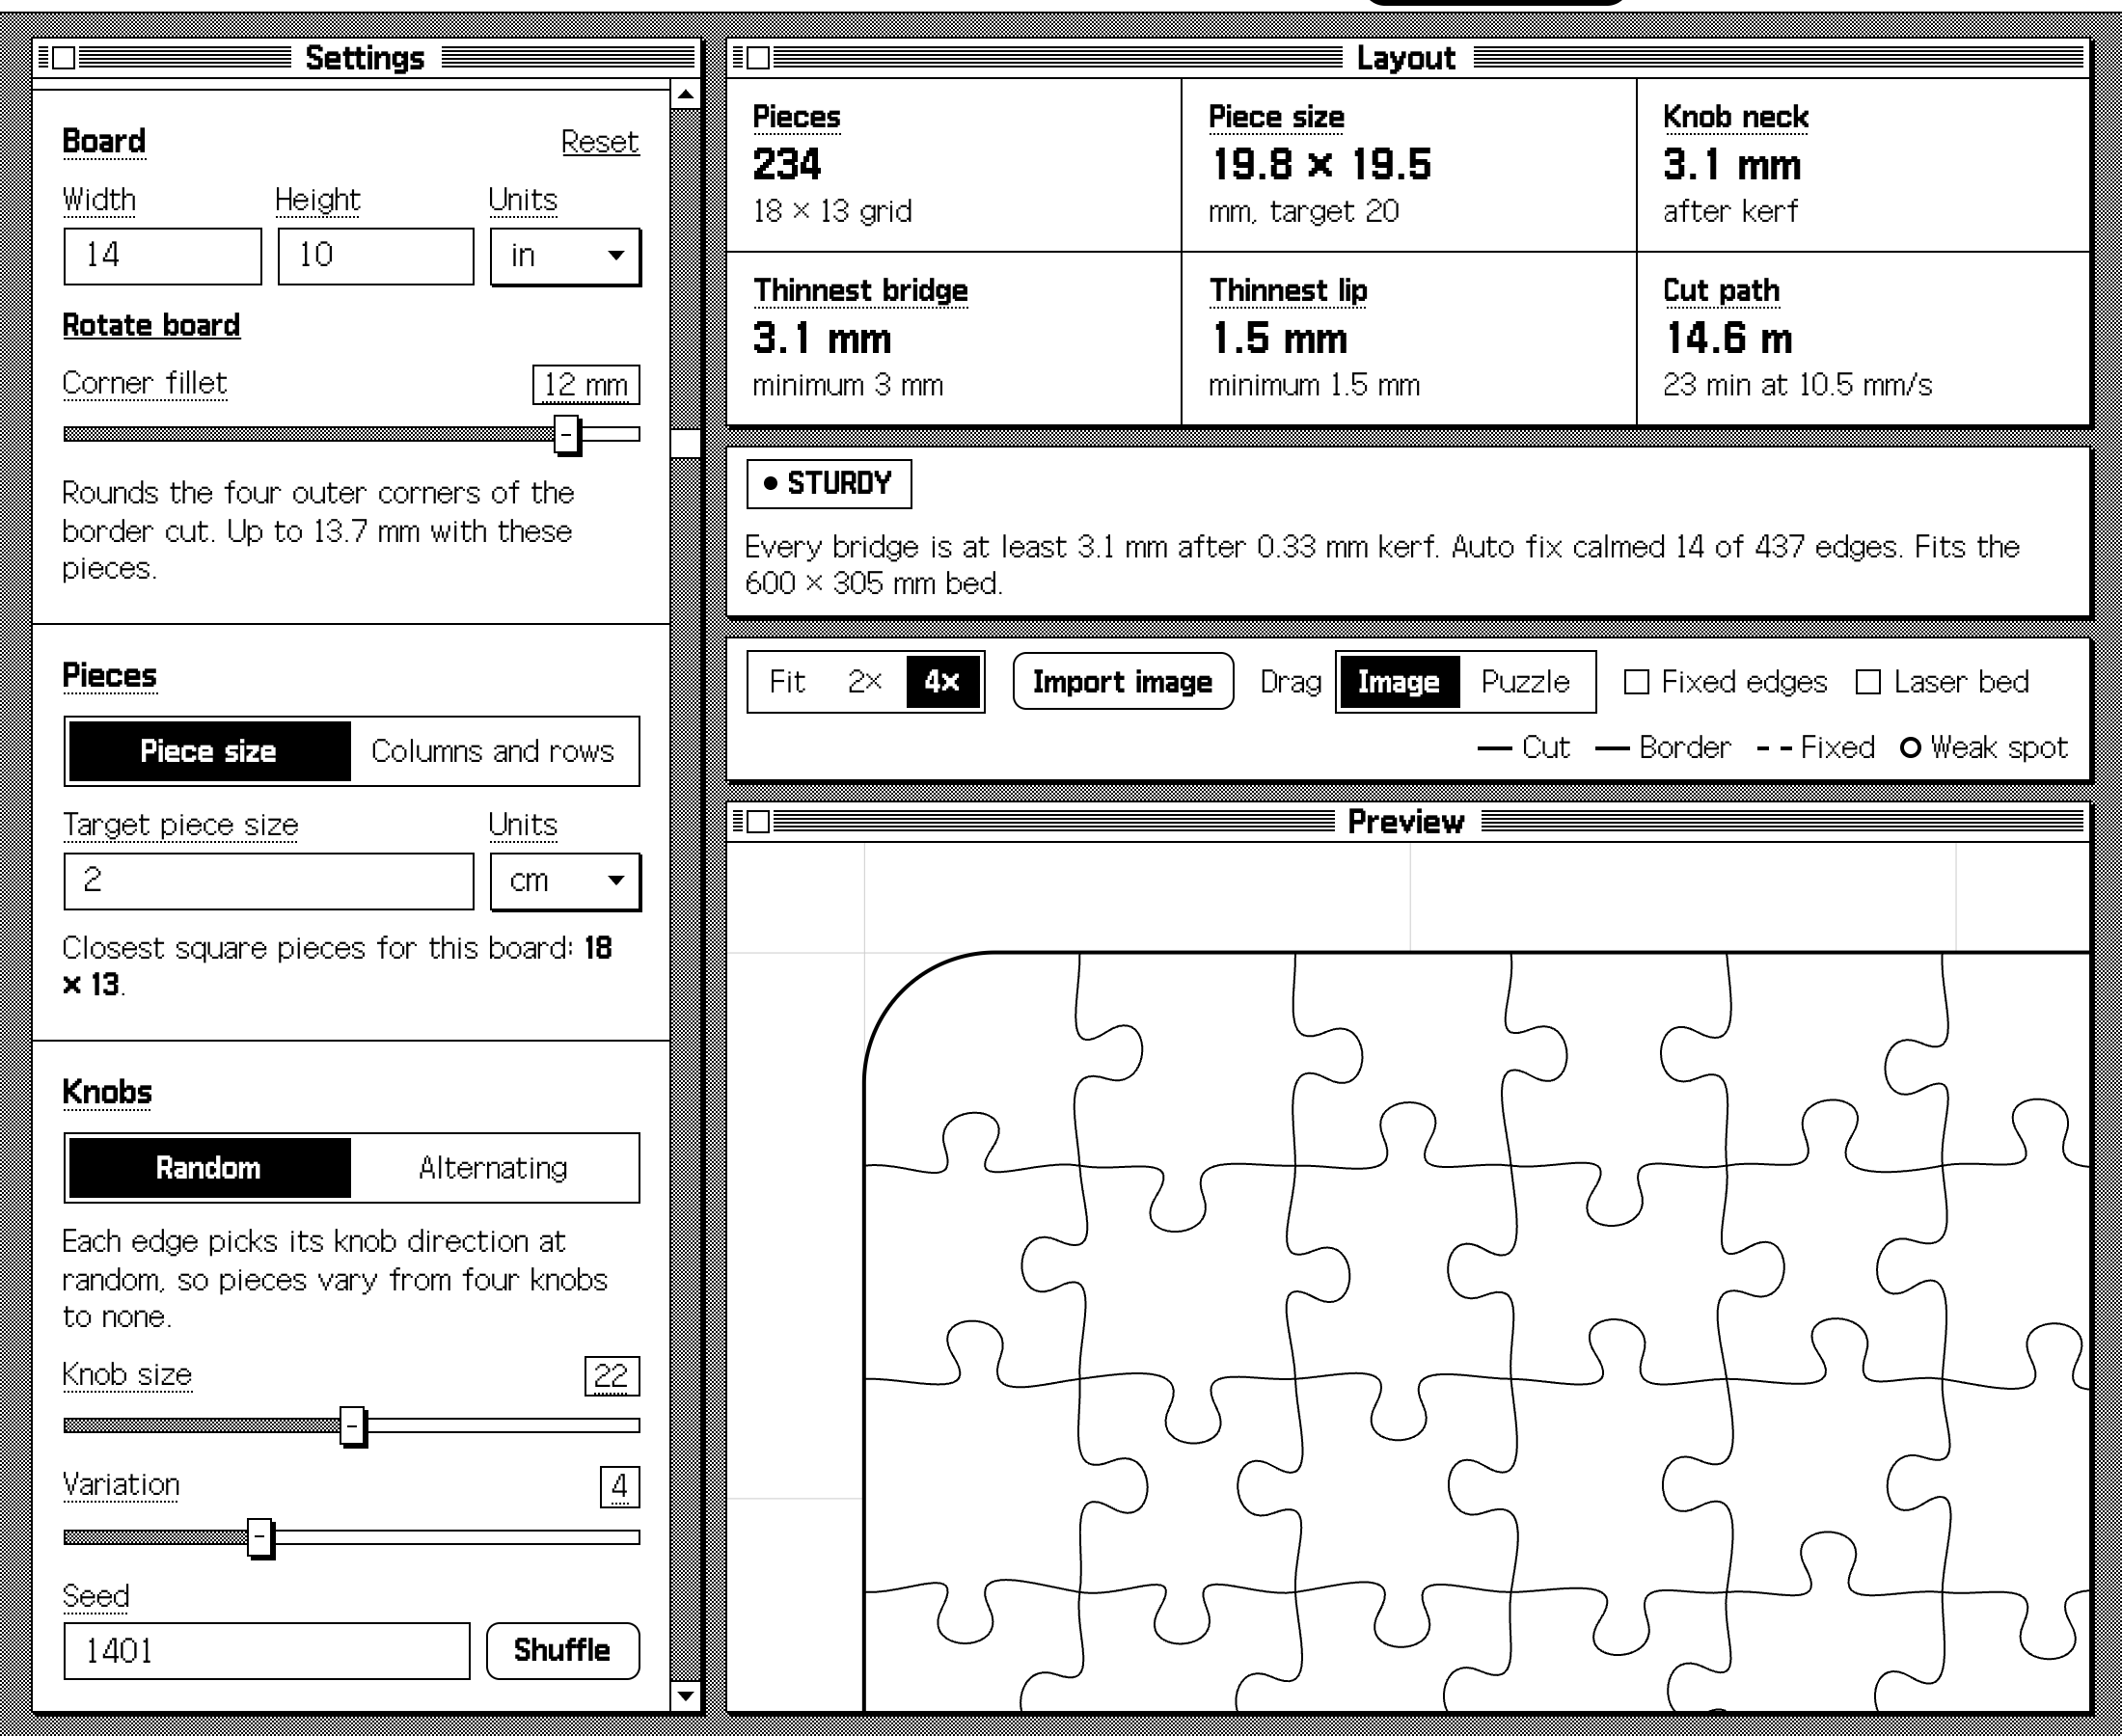
Every screenshot on this page is Puzzle Jigger itself in its black and white Classic look. Auto, Light and Dark are there too.
-
01
Set your board
Type the width and height of the panel you will cut and round its corners if you like, or start from a preset: 14 × 10 in with classic, organic or alternating knobs, or 20 × 10 in.
-
02
Shape the pieces
Pick a piece size and knob style, then press Shuffle until you like the layout. The same settings always make the same puzzle.
-
03
Pick your material
Choose acrylic, wood or a glued stack for kerf and laser setting estimates. Sturdiness flags weak spots before you cut.
-
04
Proof and export
Add your artwork to see where the pieces land, then download the SVG for XCS, LightBurn or Illustrator.
Pieces that survive the laser
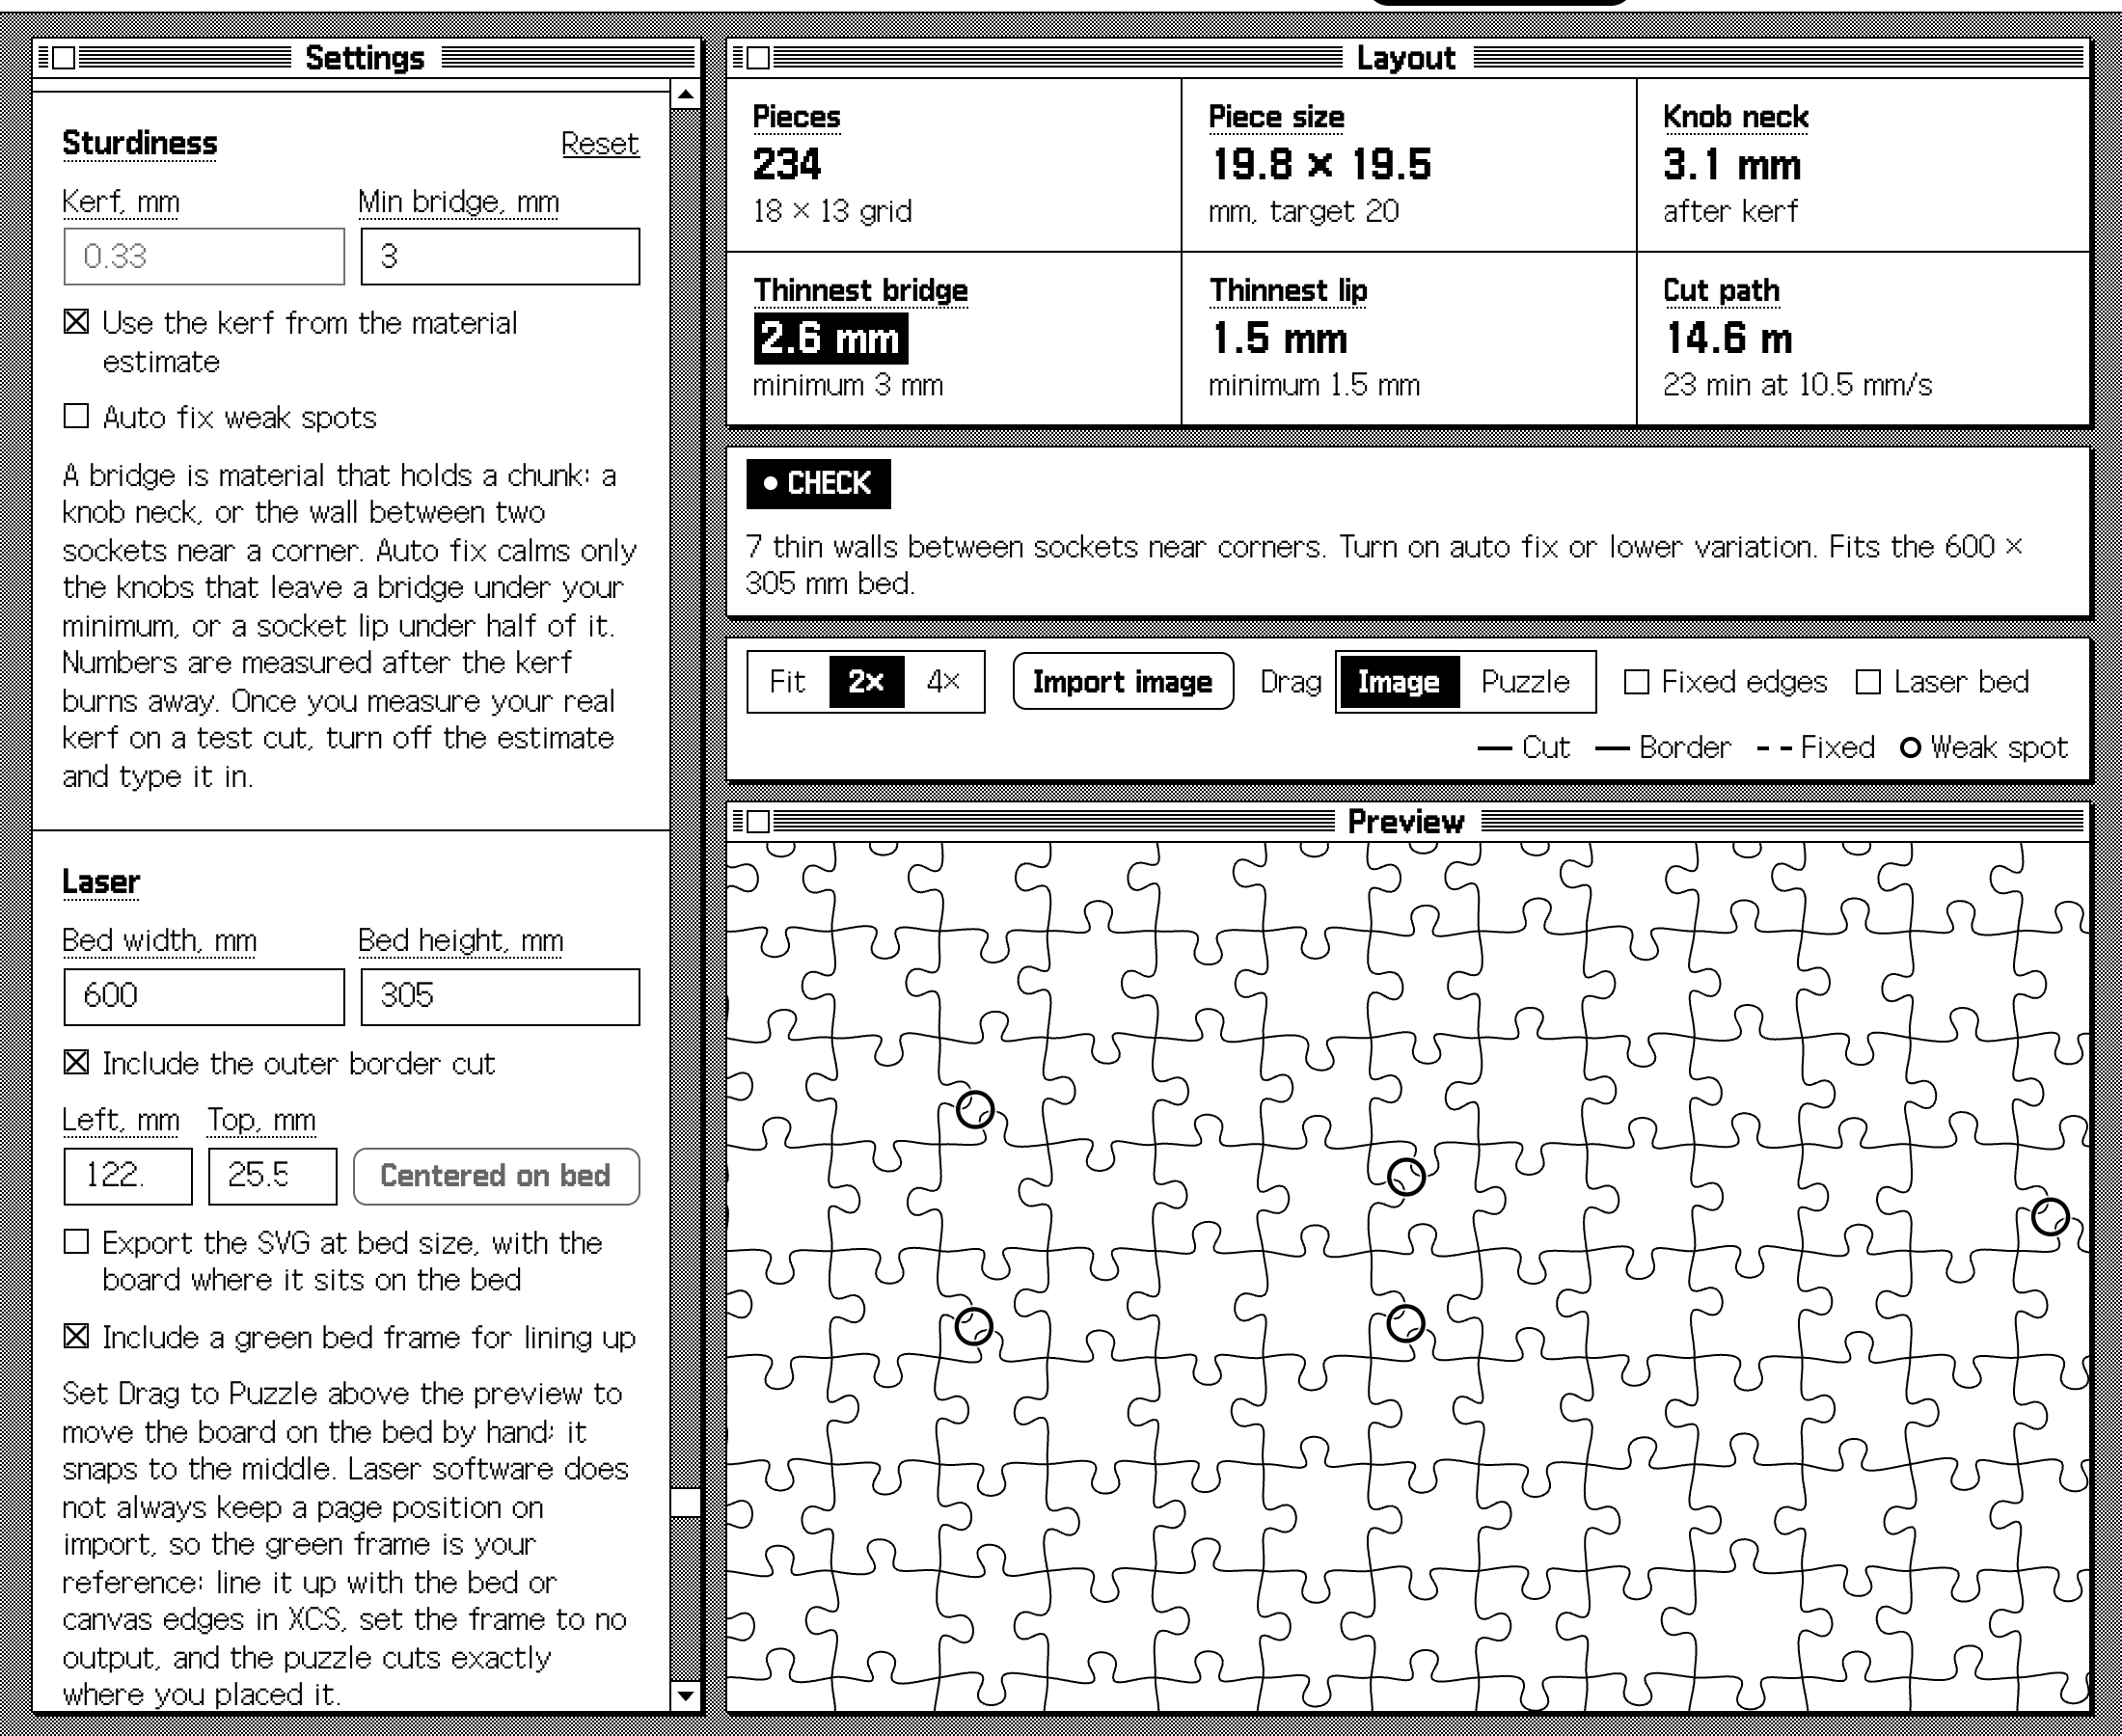
Set the kerf and the thinnest wall you will accept, and Puzzle Jigger checks every knob neck, bridge and socket lip against it after the laser burns away its width.
- Measure the kerf on a test cut, or use the estimate for your material
- Auto fix reshapes only the knobs that would come out too thin
- Any weak spot that remains is marked on the preview
Knobs and layouts you control
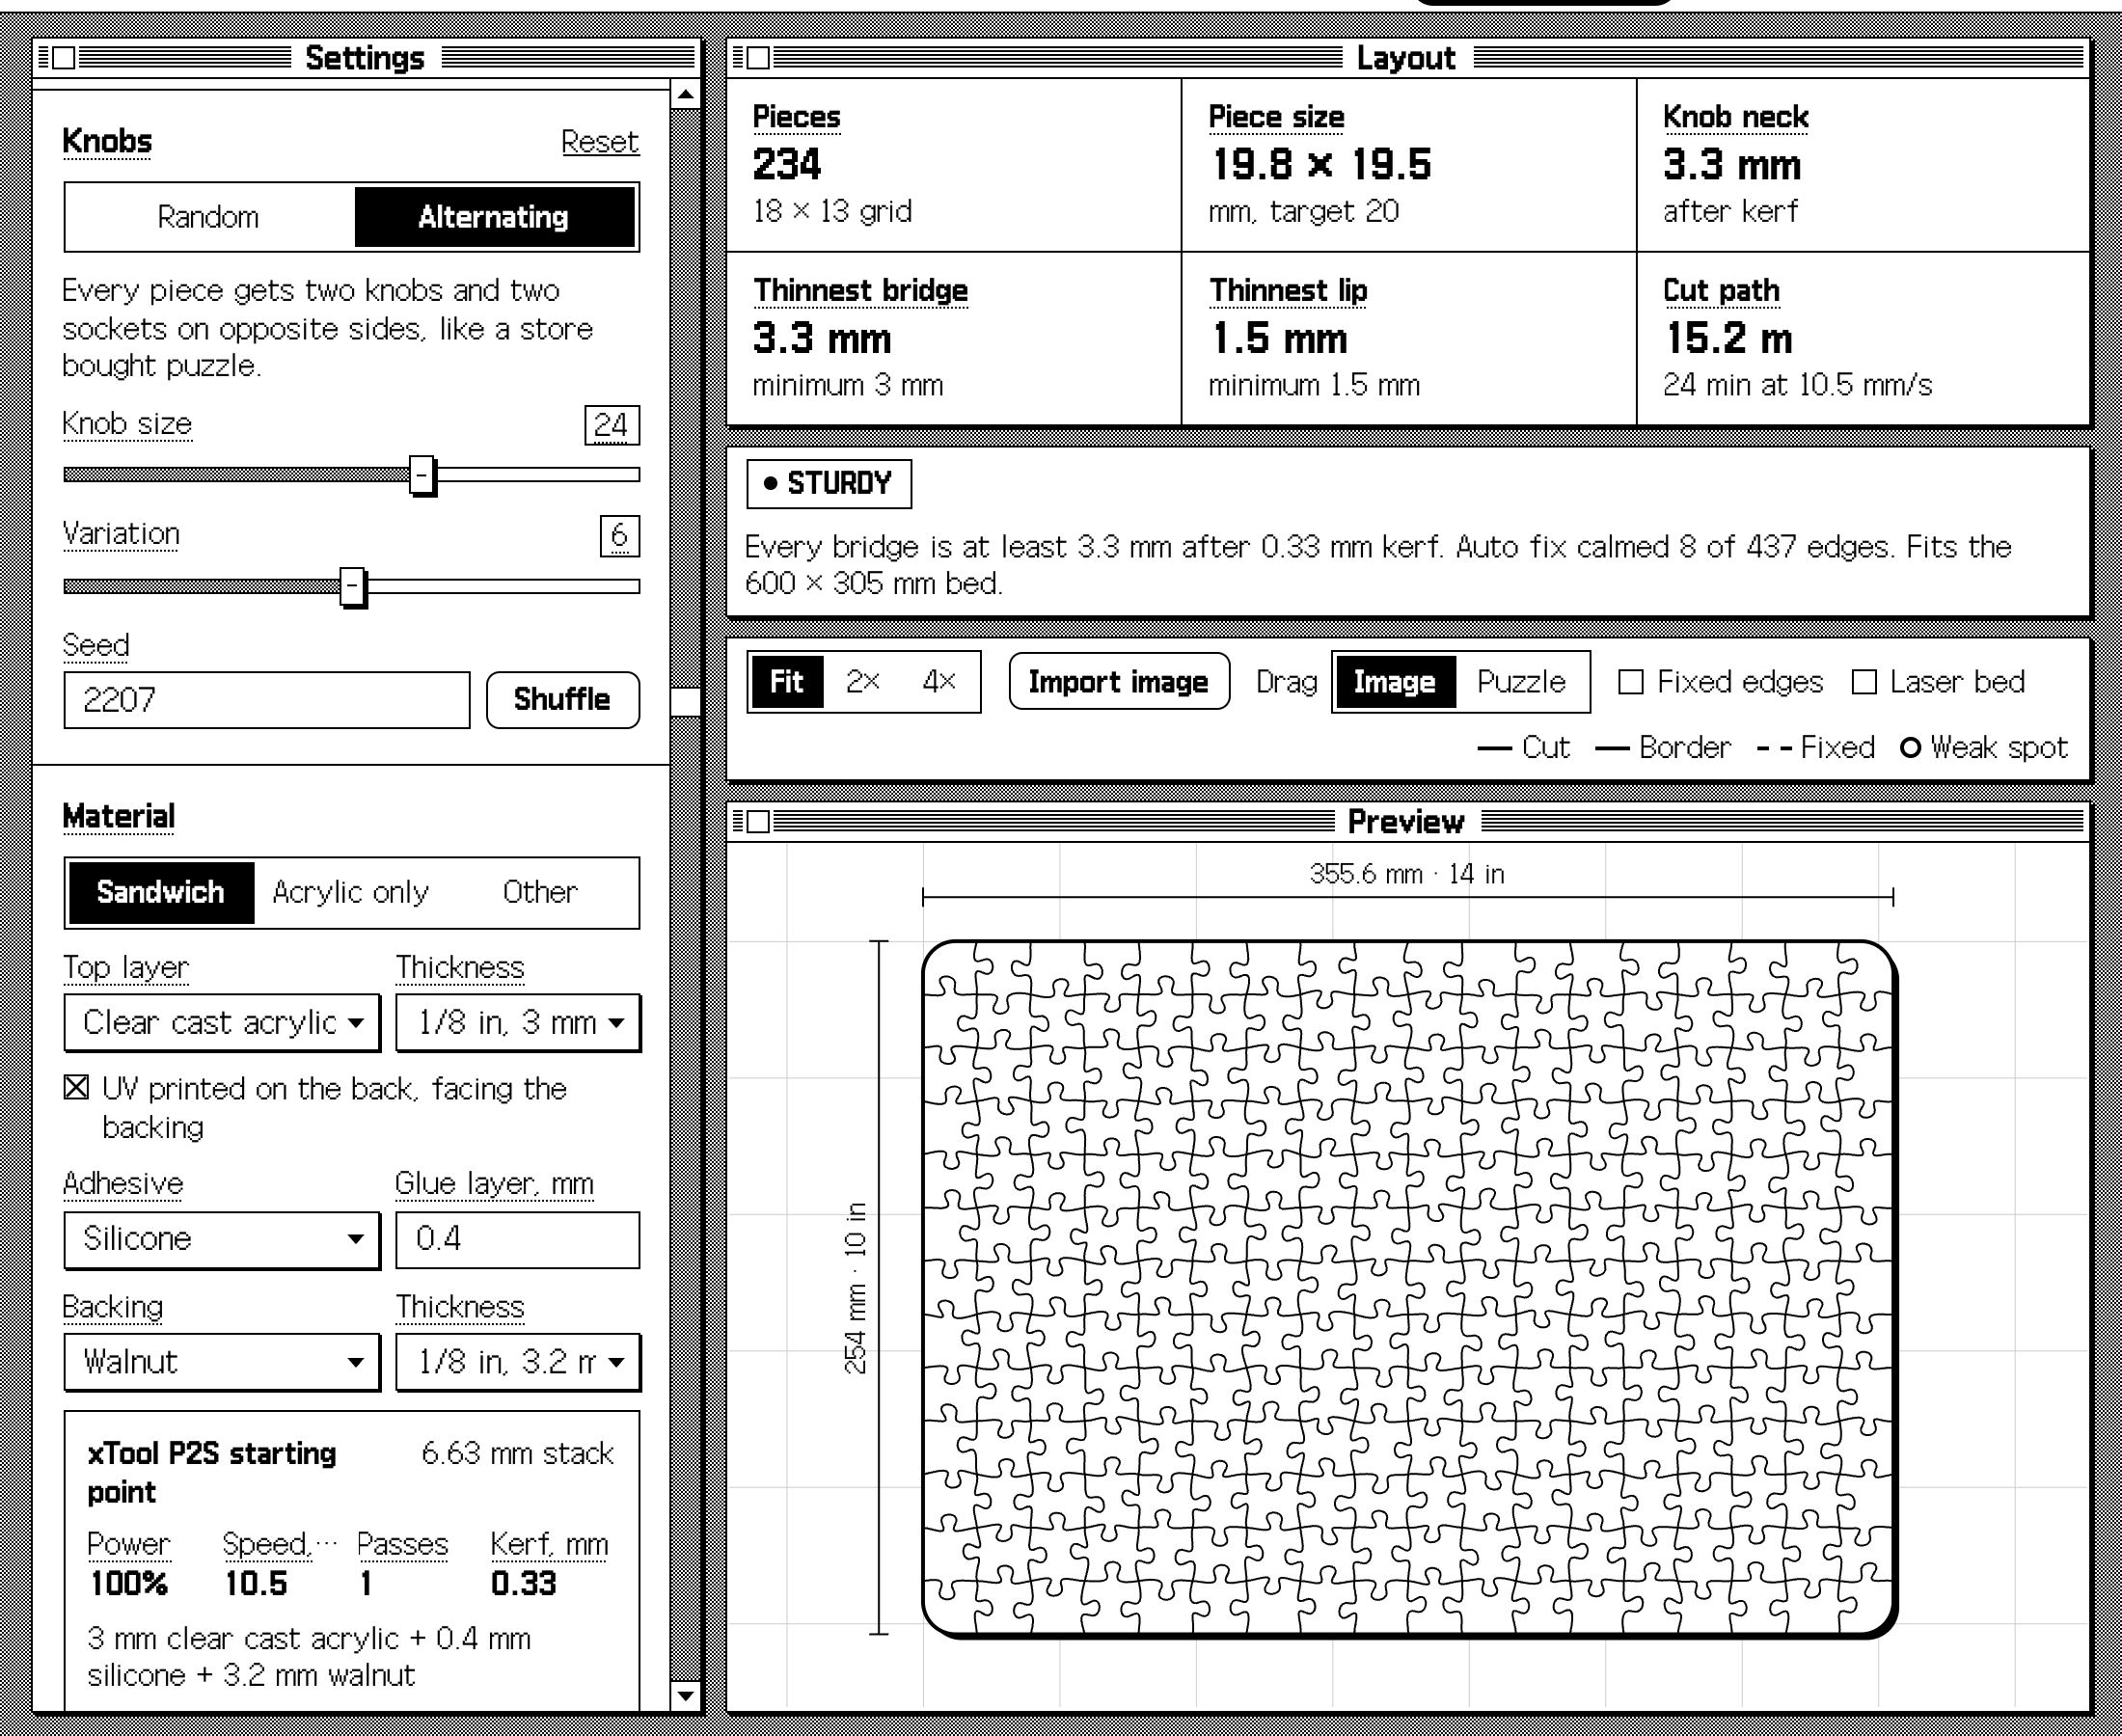
Choose how big the knobs are and how much they wander, then shuffle until the layout feels right.
- Knob size compared with the piece: bigger locks tighter but crowds the corners
- Variation in position, depth and lean, or none for identical knobs
- A seed number, so the same seed and settings always rebuild the same puzzle
- A target piece size, or exact columns and rows
Material and laser estimates
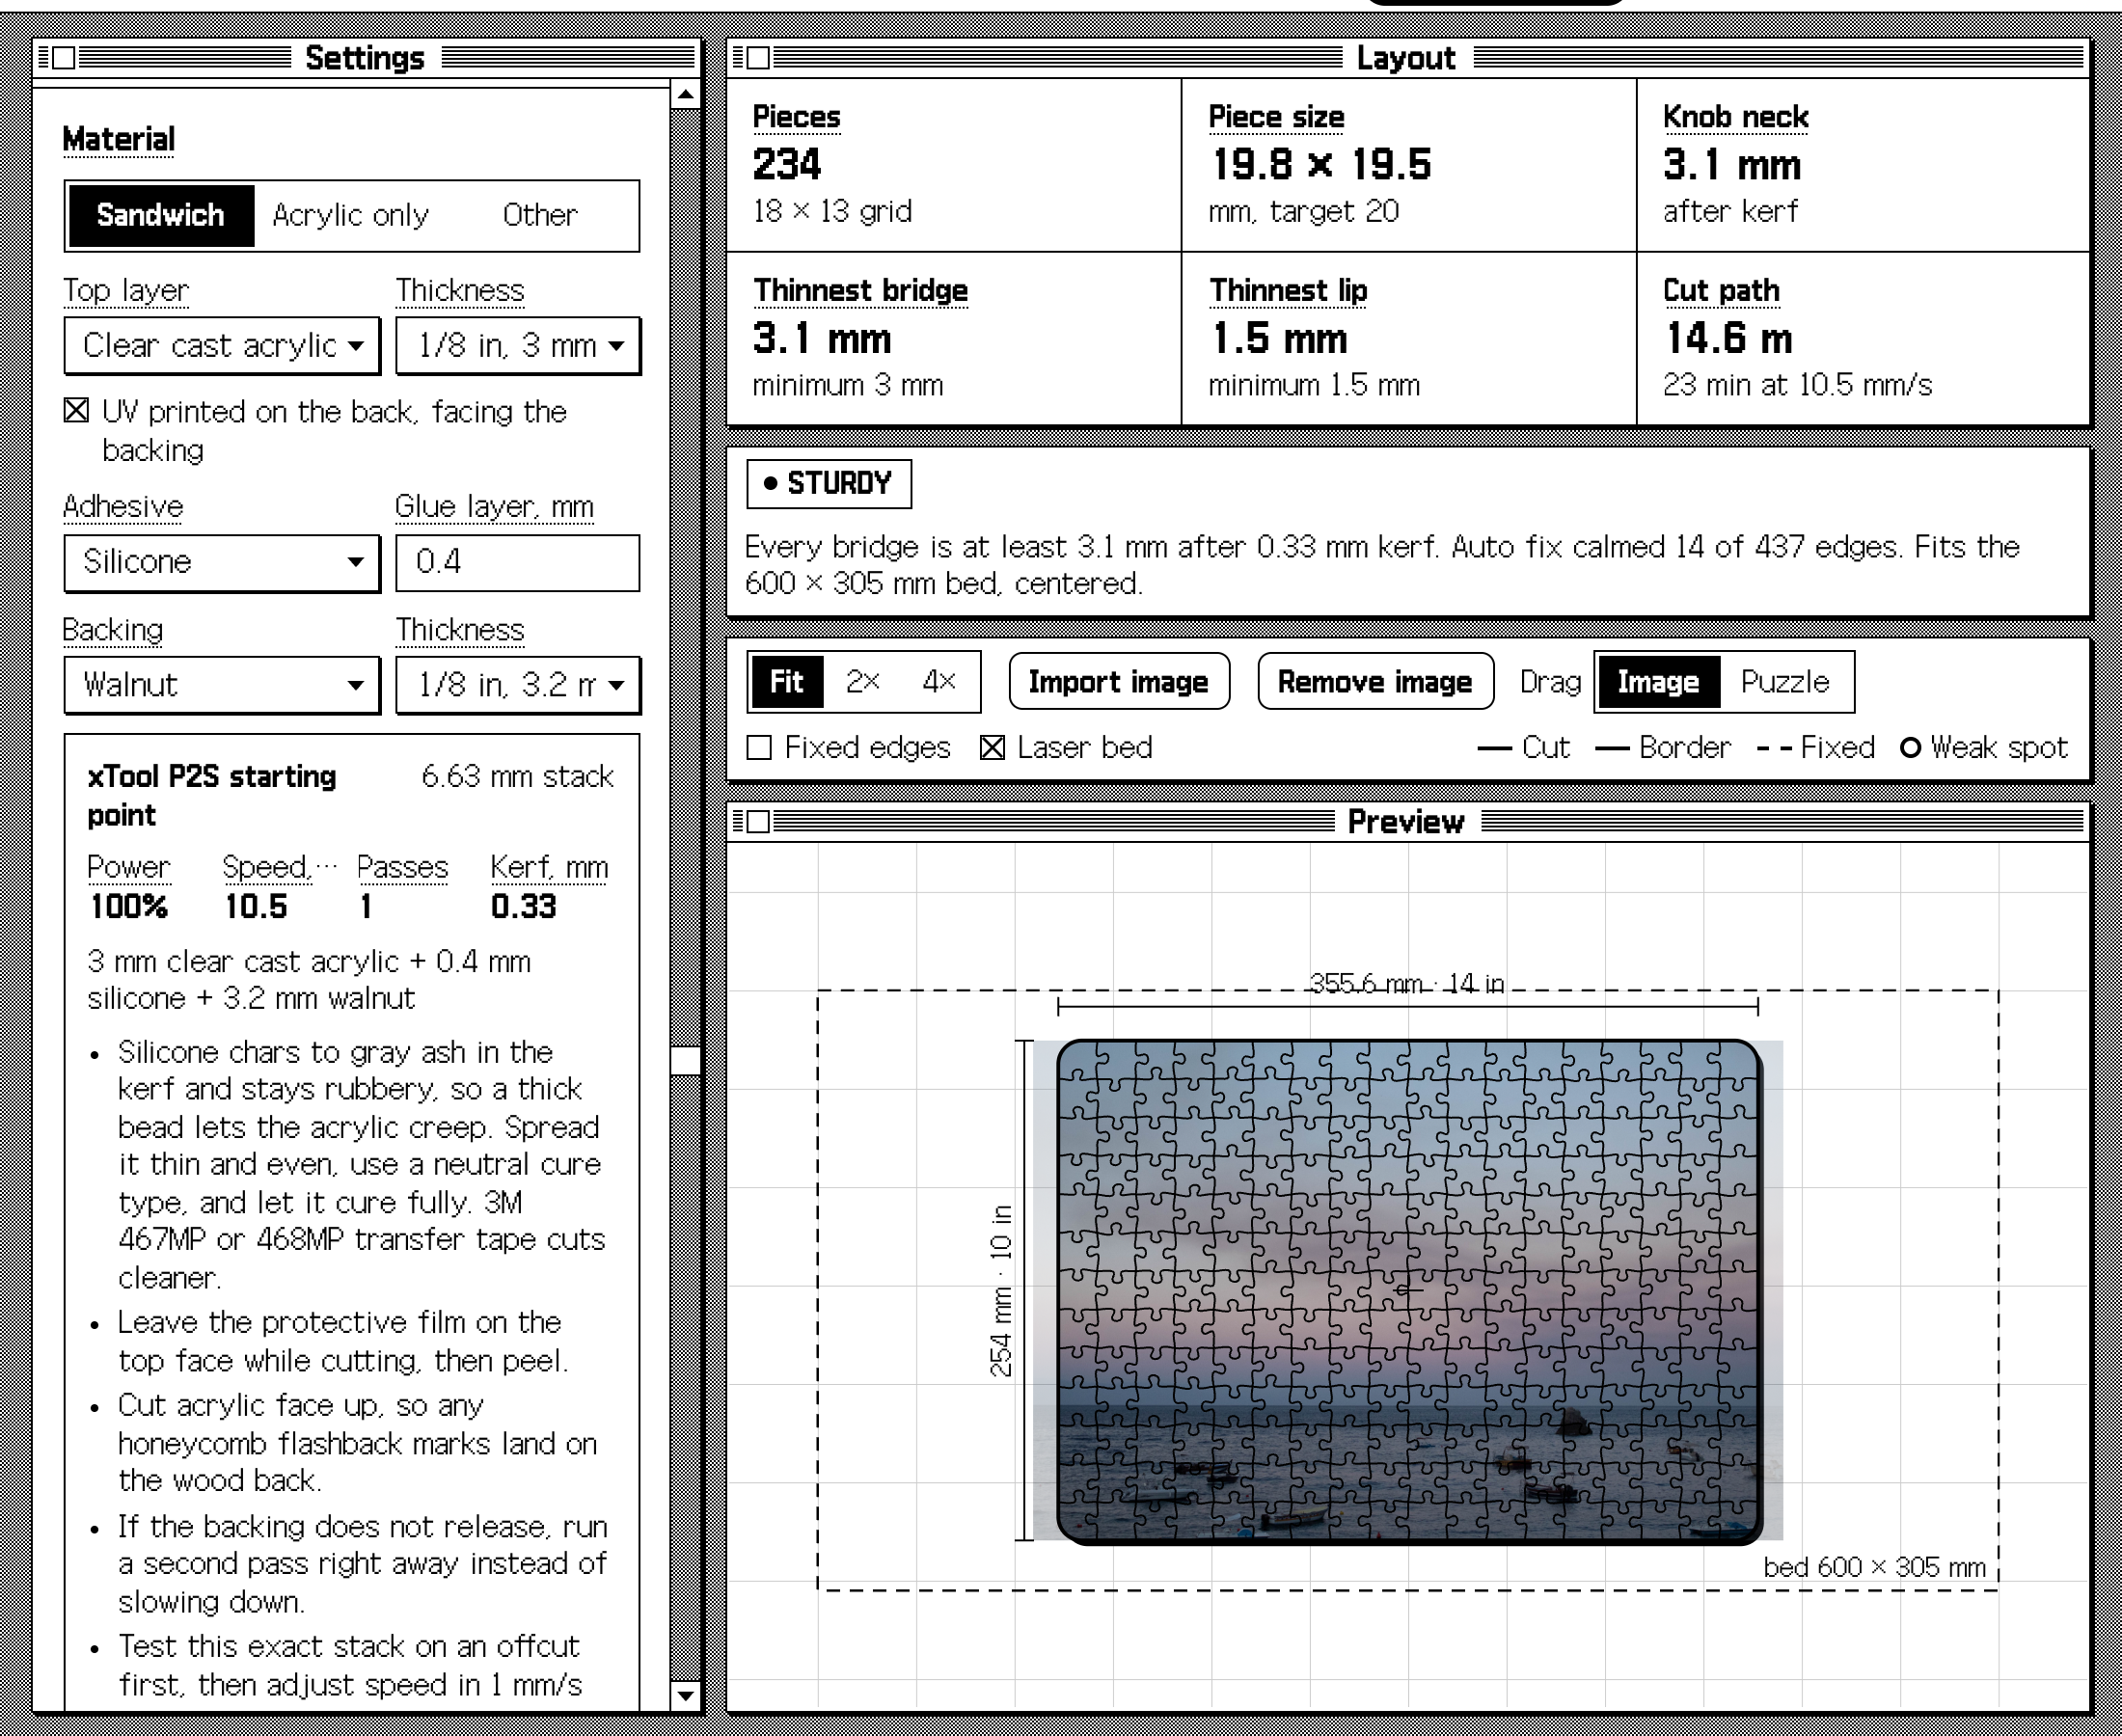
Describe what you are cutting and Puzzle Jigger works out the stack and a starting point for the laser, written into the file with the layout.
- Clear cast or extruded acrylic, a UV print layer, adhesive and backing, or a single sheet
- The full stack thickness, such as 3 mm acrylic, 0.4 mm silicone and 3.2 mm walnut
- A starting estimate like xTool P2S 55 W at 100% power, 10.5 mm/s, one pass, air assist on
- Every estimate says to test on an offcut first
Proof with your artwork
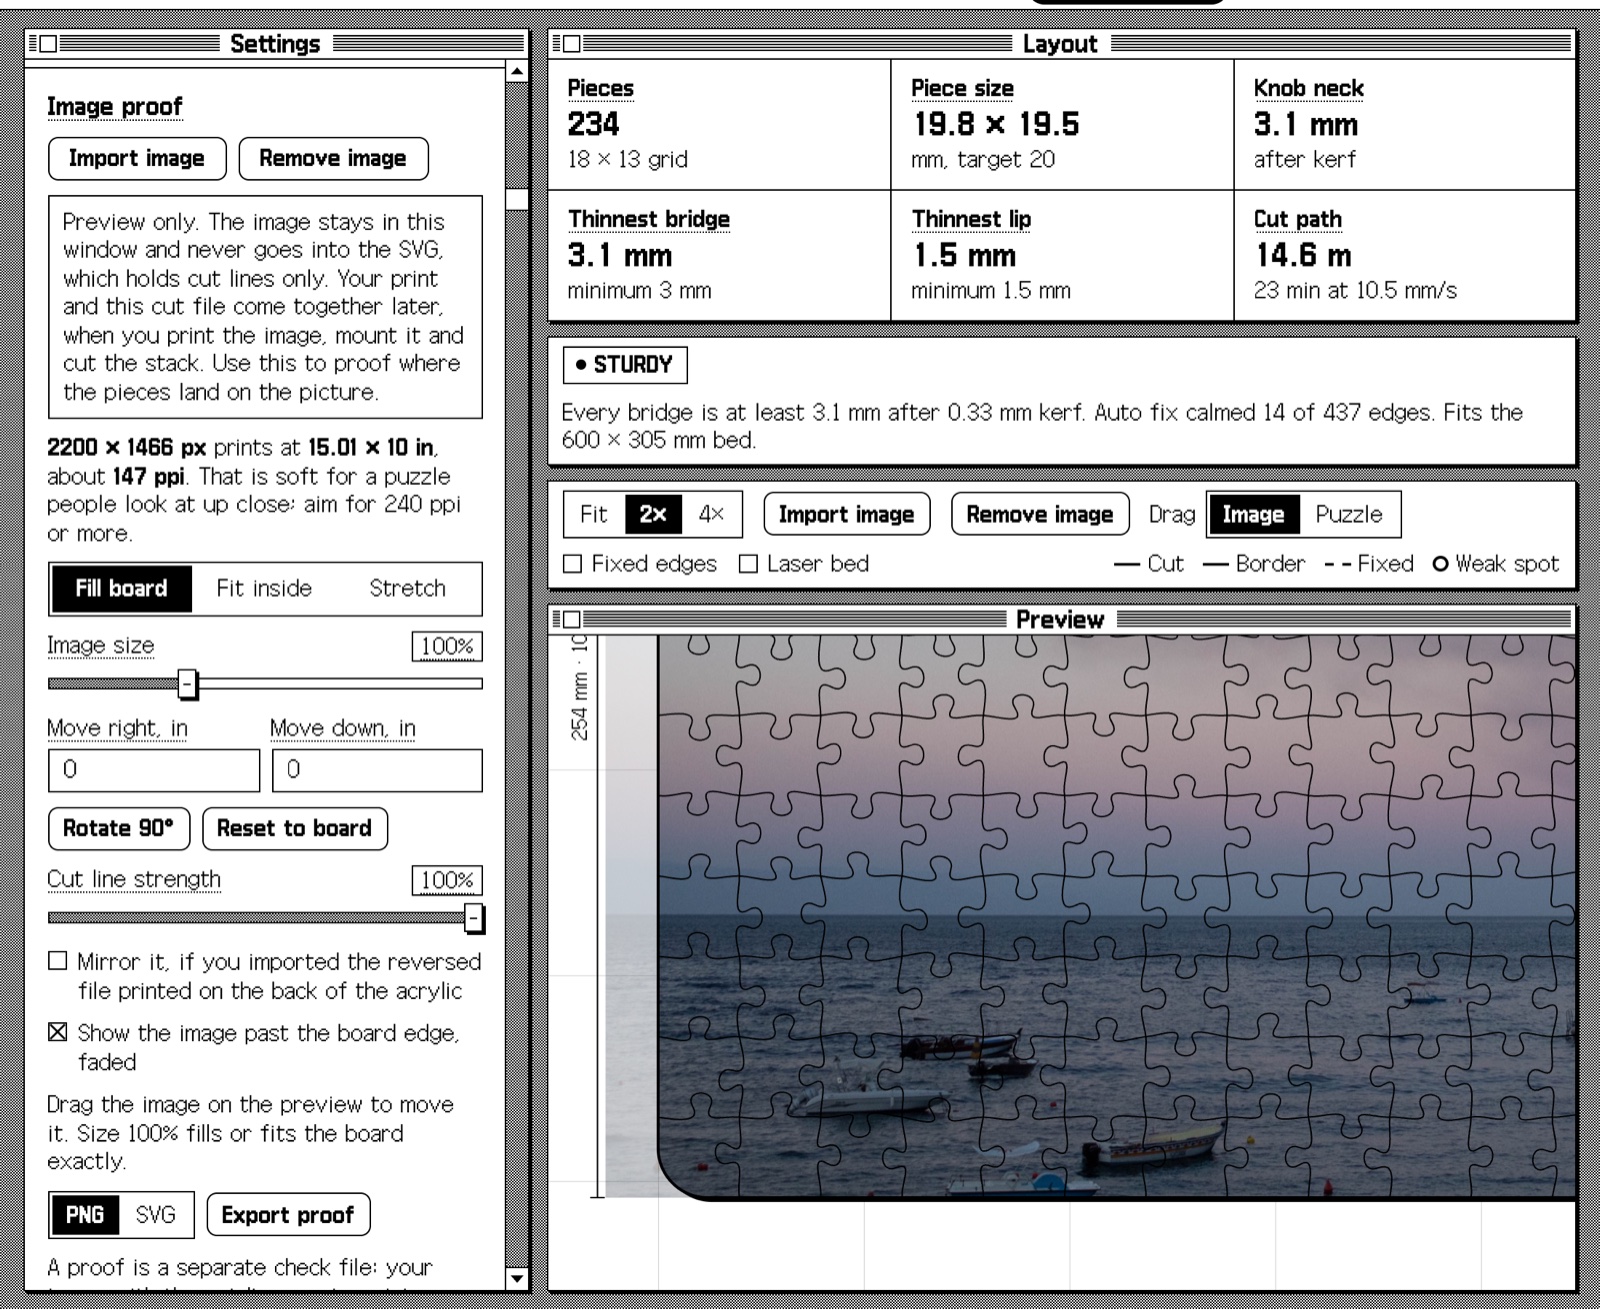
Place your print file under the cut lines to see exactly where each piece falls before anything is cut.
- Scale, shift and turn the image, or drag it on the preview
- Mirror it for prints reversed on the back of clear acrylic
- Fade the cut lines, and show the bleed past the board edge
- Export a proof with corner marks and notes on size and position
A cut file ready for the laser
The SVG is sized in millimetres with hairline strokes, laid out so every shared edge is cut only once.
- Red interior cuts, one continuous path per row and column
- A blue outer border to cut last, or turn off for a board that is already trimmed
- A corner fillet that rounds the border's four corners, up to the largest radius your pieces allow
- Copy SVG to paste the file straight into a design or laser app
- The settings are written into the file, so the layout can be rebuilt exactly
Open Puzzle Jigger.
It runs in your browser on a computer, iPhone, iPad or Android phone. Add it to your Home Screen and it opens with no signal.
- Does my artwork get uploaded?
- No. Puzzle Jigger runs in your browser, so imported images stay on your device and your settings are saved only in that browser.
- Which laser software is it for?
- The SVG is made for XCS, LightBurn and Illustrator. The material estimates are starting points: measure your kerf and test on an offcut before cutting the real board.
- How do I add it to my phone?
- On iPhone or iPad, open it in Safari, tap Share, then Add to Home Screen. On Android, open it in Chrome and choose Install app. Open it once while connected, and it works offline after that.
- Where do files go on a phone?
- On iPhone and iPad, Download SVG and Export proof open the share sheet, so you can Save to Files or AirDrop to the computer that runs your laser. On Android, files go to Downloads.
- How large should my artwork be?
- A 14 × 10 in board at 240 ppi needs about a 3400 × 2400 px image. Much larger only costs memory, and very large photos can be slow to proof on older phones.
- Questions?
- Write to JOSEPH@BENANTIDESIGNS.COM.